Send an Email
Navigating to This Screen
-
From the Business Central home page, click on one of the screens integrated with eMailer Manager.
-
From the menu, click on the Print/Send link.
-
Click on Send by Email Using eMailer Manager.
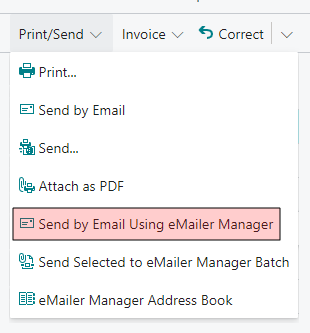
Send by Email Using eMailer: Enables the user to email the selected screen item using eMailer Manager. It will open Send Email screen. The To addresses will come from the Address Book. The email body will be built according to template defined for the selected menu item by the user on the Document Setup screen. Some items such as Company Information, will be populated dynamically. The screen item (for example, the Blanket Sales Order in the Blanket Sales Order screen) will be sent with the email as an attachment. This action will also be available in the card pages of supported documents as shown here.
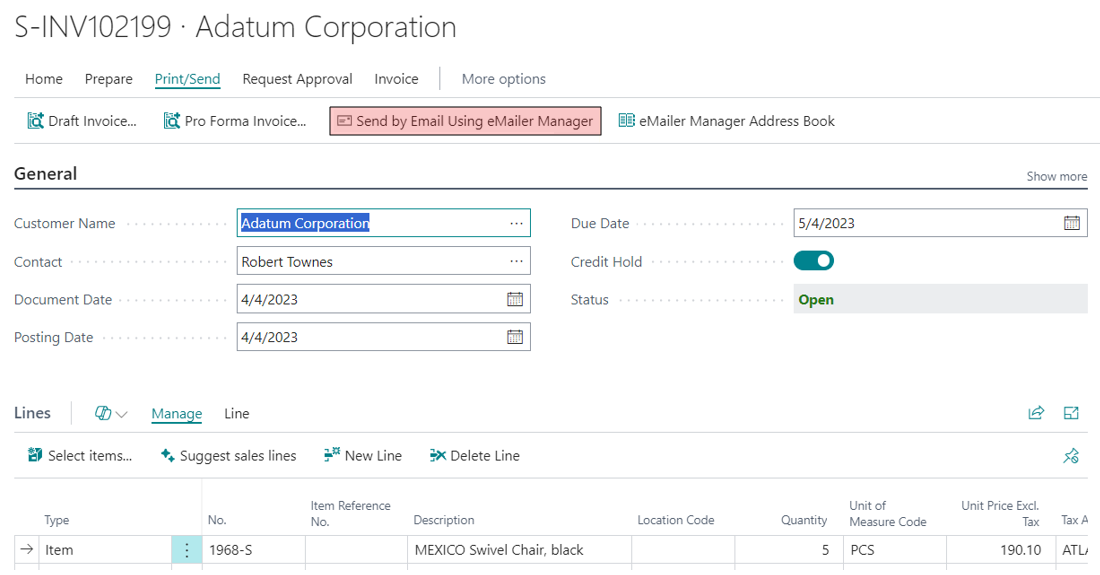
-
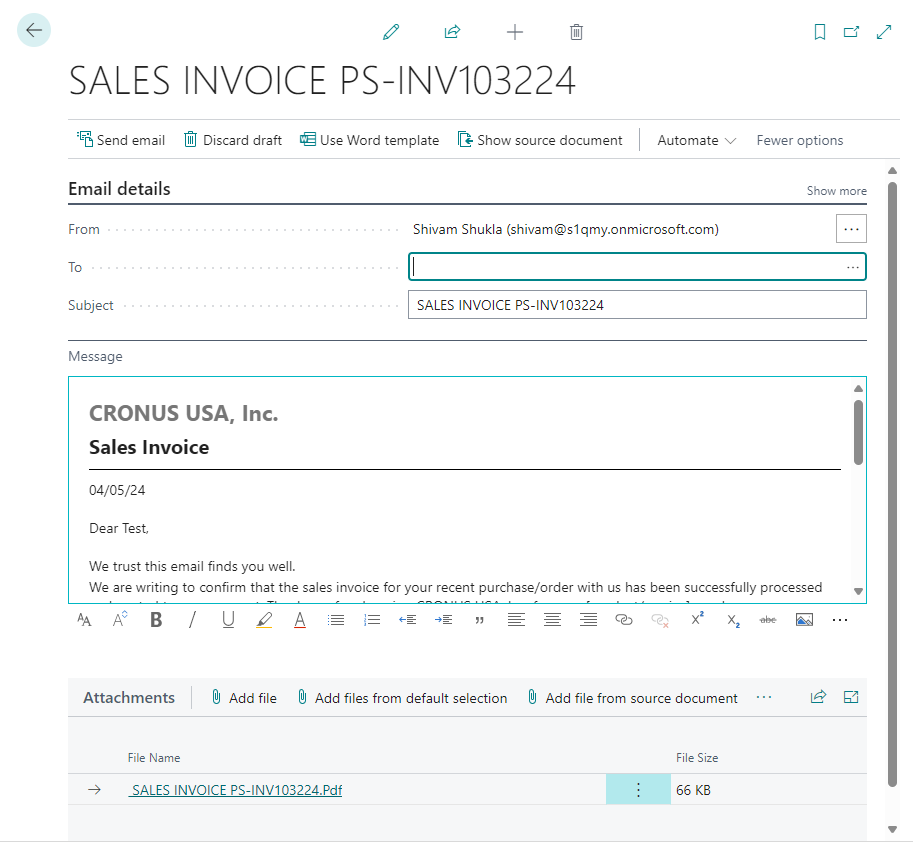
The Send Email screen will be displayed.

Using an Email Template
-
You can enter the email body manually, or you can load a pre-made template. Do to this follow these steps:
-
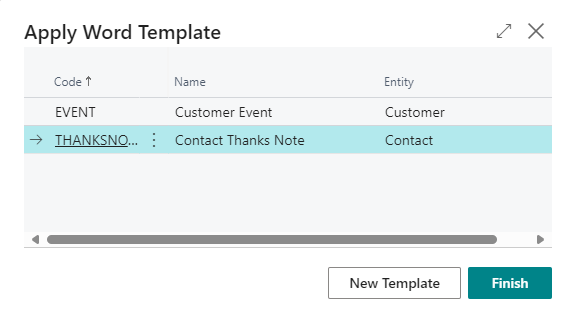
Click on the Use Word Template button located near the top of the screen. The Apply Template screen will be displayed.
-
Click once on the template you wish to apply to your email
-
Click the Finish button.
Viewing a Source Document or Related Records
-
To view the source document from which this email was created, click on the Show Source Document button, located near the top of this screen. A screen similar to the following will appear:
-
Click once on the document you wish to view, either the Primary Source or Related Entity.
-
Click on the OK button.
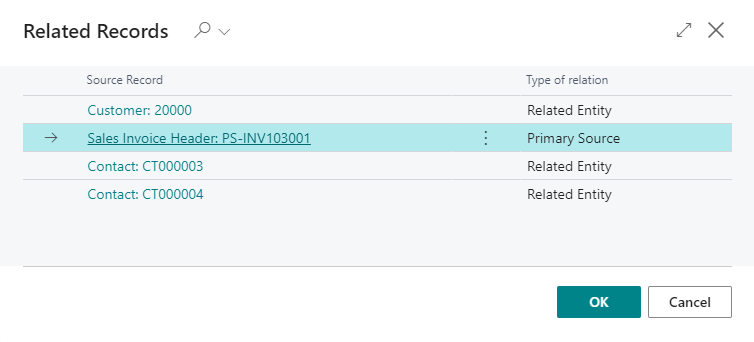
Alternatively, you can save a step and click on the underlined documentation itself to display it immediately.
Screen Controls
Send Email: Once all of the necessary fields have been populated, click on the Send Email button to send the email message to the recipient listed in the To field. Once the email has been sent successfully, a confirmation message will be displayed.
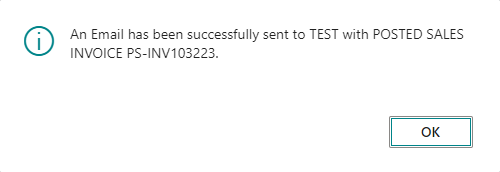
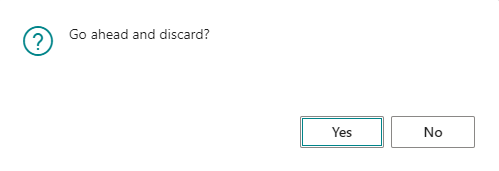
Discard Draft: If you don't wish to send the email, then click on the Discard Draft button to abandon the process. The following confirmation message will appear.
Use Word Template: See Using an Email Template, above.
Show Source Document: See Viewing a Source Document or Related Records.
From: This fields contains the email address of the person sending the email. By default, it will be populated with the current user's email address. If you wish to change it, then click on the three horizontal lines at the right side of the field to open the Address Book. Select an email from the list and then click on the OK button.
To: Enter the email address of the recipient. You can select an email from the Address Book by clicking on the three horizontal lines at the right side of the field, and select another address from the Address Book.
Subject: This field will be pre-populated with the name of the selected item. For example, if you selected the Sales Invoice screen, then the email subject will be Sales Invoice XX-XXXXX.
Message: The body of the email may already be pre-populated, but can be edited further in this field. A formatting toolbar is visible under this field.
Add file: The relevant item from the selected screen will already be included as an attachment, but additional files can be attached by clicking on this link.
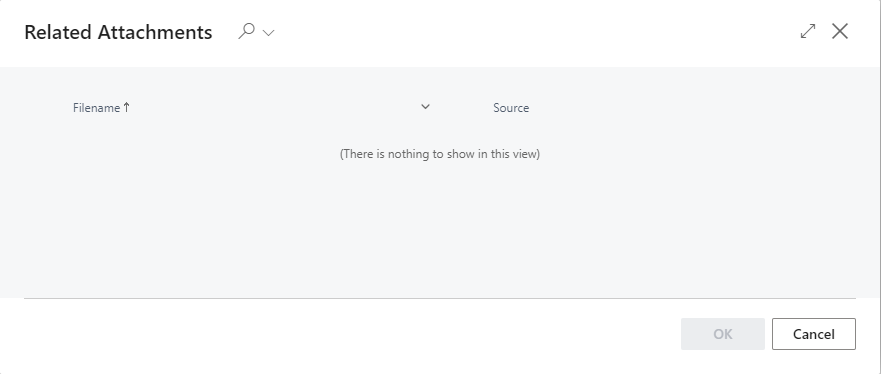
Add files from default selection: Click on this link to display the Additional Attachment from Scenarios screen. Select an item from the list to attach it to this email.
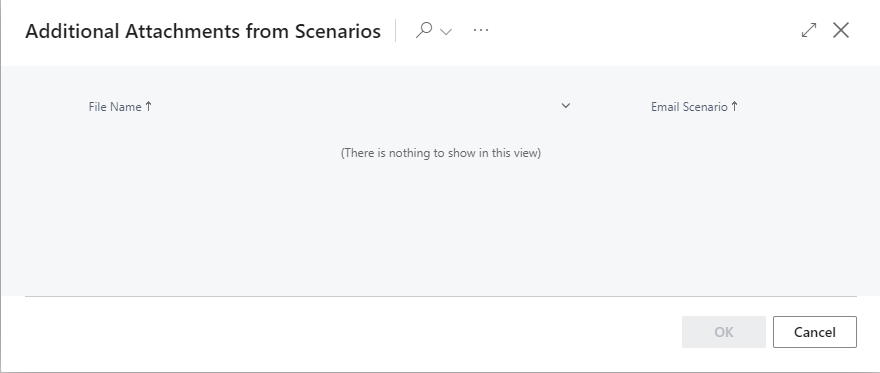
Add file from source document: Click on this link to display the Additional Attachment from Scenarios screen. Select an item from the list to attach it to this email.
Delete an Attachment
-
Scroll down to the Attachments section at the bottom of the screen
-
Click on the three vertical dots (highlighted in green) beside the attachment you wish to delete.
-
Select Delete from the pop-up menu.
