eMailer Manager Archive Batch
Screen location: Business Central Home → eMailer Manager → eMailer Manager Archive Batch
This screen enables users to view the details of successfully processed batches. Users may also view the details of documents sent in a batch, along with detailed sender and receiver information. This screen is identical to the Batch screen, except that the users won't be able to make any changes to the batches.
Navigating to This Screen
-
From the Business Central home page, click on the eMailer Manager link in the main menu.
-
The eMailer Manager sub-menu will appear. Click on the eMailer Manager Archive Batch link.

-
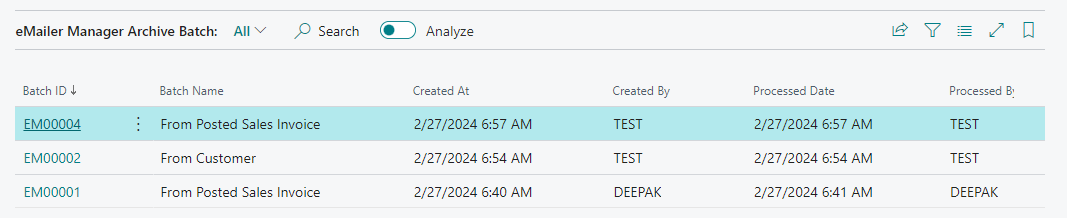
The eMailer Manager Archive Batch screen will be displayed.
Important: Before selecting eMailer Manager Batch, eMailer Manager Archive Batch, or eMailer Manager Address Book, you must first complete the setup procedures in the Document Setup screen.
View an Archive Batch Entry
-
Click once on the desired row to highlight it.
-
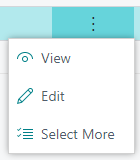
Click on the three vertical dots at the right side of the Batch ID column. A pop-up menu will appear.
-
Select View from the menu. The following screen will appear, displaying the details for the selected archive batch entry.
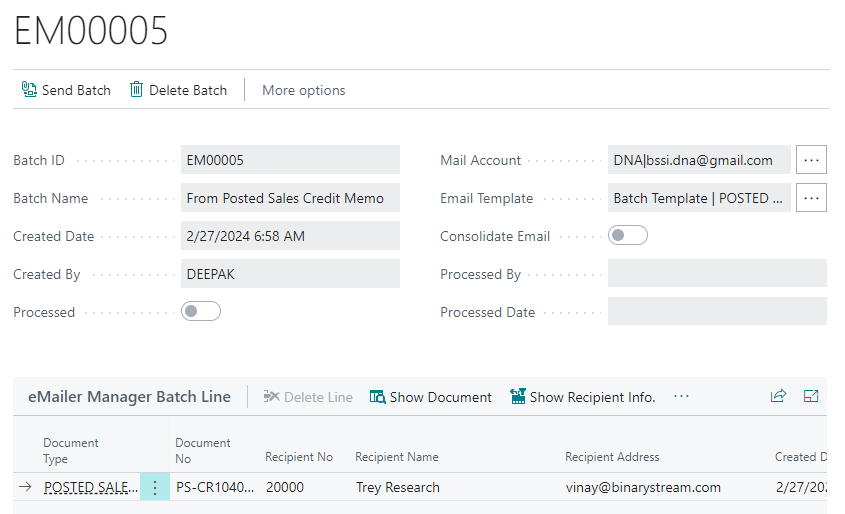
View an Archive Batch Entry - Screen Controls
Batch ID: Used to show/enter the batch ID number from the selected Series from the Setup screen.
Batch Name: Allows the user to enter a meaningful name for the batch.
Created Date: This field is populated with the date and time that the batch was created.
Created By: Displays the user name of the person who created this batch.
Processed: Displays the status of the batch (whether it is processed or not).
Mail Account: Used to show the default email Account that is used to send the batch emails. This Email account is populated from Default Email Setup. This field is editable.
Email Template: Displays the default template which that is used to create the mail body for all of the emails in the batch. The Template is initially the default Batch Template selected for a document type on Document Setup of eMailer Setup. This field is editable.
Consolidate Email: Allows the user to send a single consolidated email for all the documents with the same recipient address. All attachments will be included in the consolidated email.
Processed By: Displays the user name of the person who sent or processed the batch.
Processed Date: The date and time that the batch was sent or processed.
Author Notes: The Archive Batch screen does not allow users to edit batch details. Therefore, the Send an Archive Batch, Delete an Archive Batch, and Delete an Archive Batch Documents functions are disabled for this screen.
Display an Archive Batch Line Document
-
Click once on a batch line to select it.
-
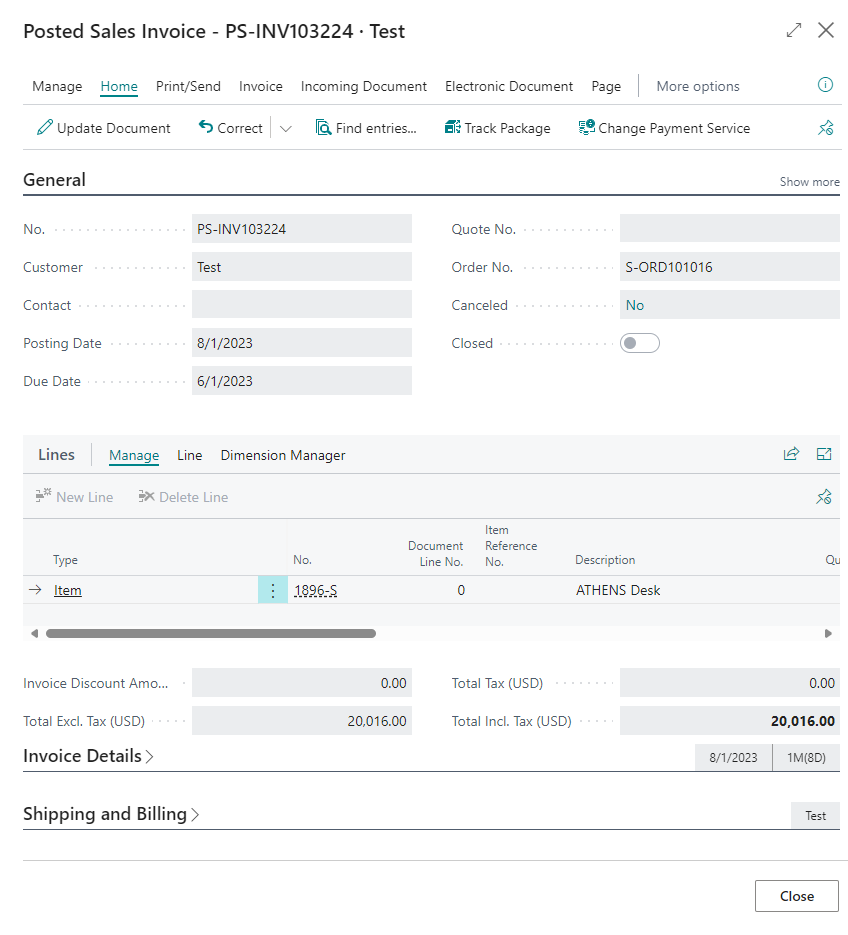
Click on the Show Document button above the Batch Line section near the bottom of the screen.
-
This will display the Posted Sales Invoice Details screen, as shown here.

Display a Customer Card
-
Click once on a batch line to select it.
-
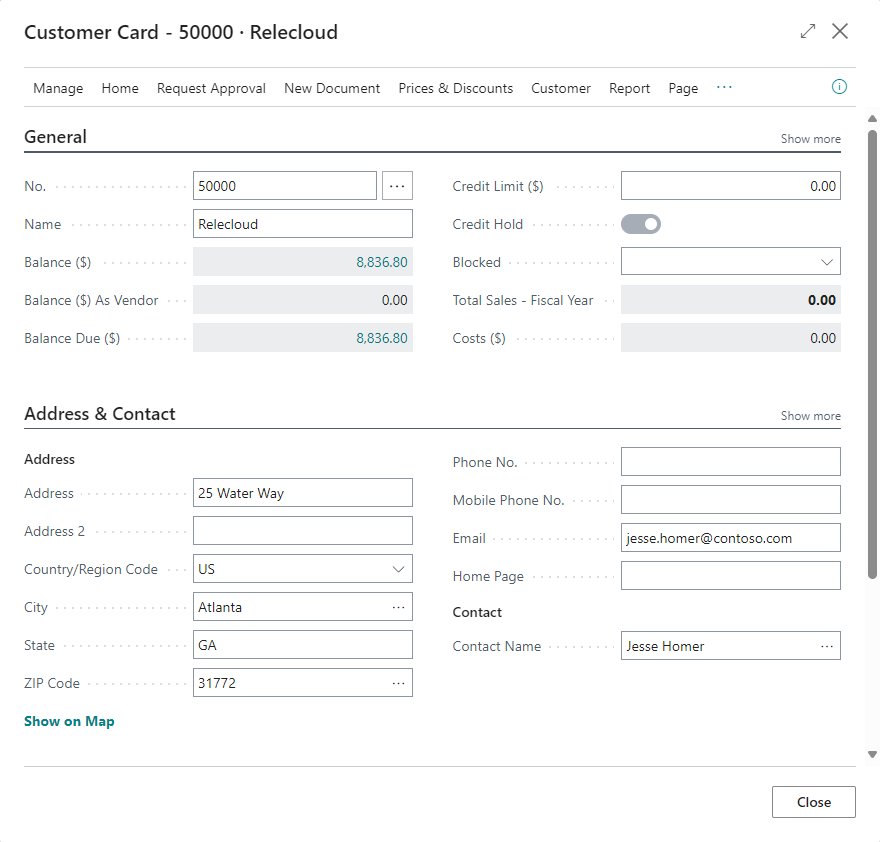
Click on the Show Recipient Info button above the Batch Line section near the bottom of the screen.

This will display the Customer Card, as shown here.
Download Attachments
-
To download any attachments associated with the batch line:
-
Click once on a batch line to select it.
-
Click once on the three horizontal dots. A pop-up menu will appear.
-
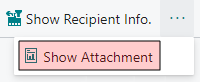
Select Show Attachment from this menu.
-
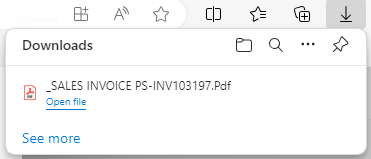
The attachments will be downloaded to your computer. When the download is complete a notification will appear near the top-right corner of the screen.